DIY Wall Murals: How to Transform Spaces with Homemade Art
The Benefits of DIY Wall Murals
Creating a stunning interior doesn’t always require professional help. With a little imagination and some sweat equity, you can craft your own wall murals that showcase your personality and style. DIY wall murals are an accessible way to refresh any room, from living spaces to children’s bedrooms. The process not only enhances your environment but also provides a rewarding creative outlet.
Why Consider DIY Wall Murals?
DIY wall murals present numerous advantages that can make your home feel uniquely yours while also being cost-effective. Here are some enticing reasons to consider:
- Cost-effective: Hiring a professional artist can be prohibitively expensive. By creating your own mural, you can save significant amounts of money while customizing your space. With paint, brushes, and a little imagination, you can infuse any room with personality without breaking the bank.
- Personal expression: A mural is an artistic extension of you and your family. Whether you’re expressing your love for nature through floral themes or showcasing a passion for travel with cityscapes, your designs can tell your story and reflect your tastes.
- Customizable: Unlike pre-made wallpaper or decals, murals are completely tailored to your specific space, style, or theme. You can choose colors that match your furnishings or themes that resonate with your interests, making your home entirely distinct.
Creative Possibilities
As the DIY home décor trend continues to sweep across the United States, many homeowners are embracing homemade art as a transformative means to elevate their interior spaces. From intricate landscapes to whimsical patterns, the possibilities are endless. Consider the following ideas:
- Geometric designs: Achieve a modern look with simple geometric shapes. Using painter’s tape can help create sharp lines and defined patterns, elevating the overall look of your space.
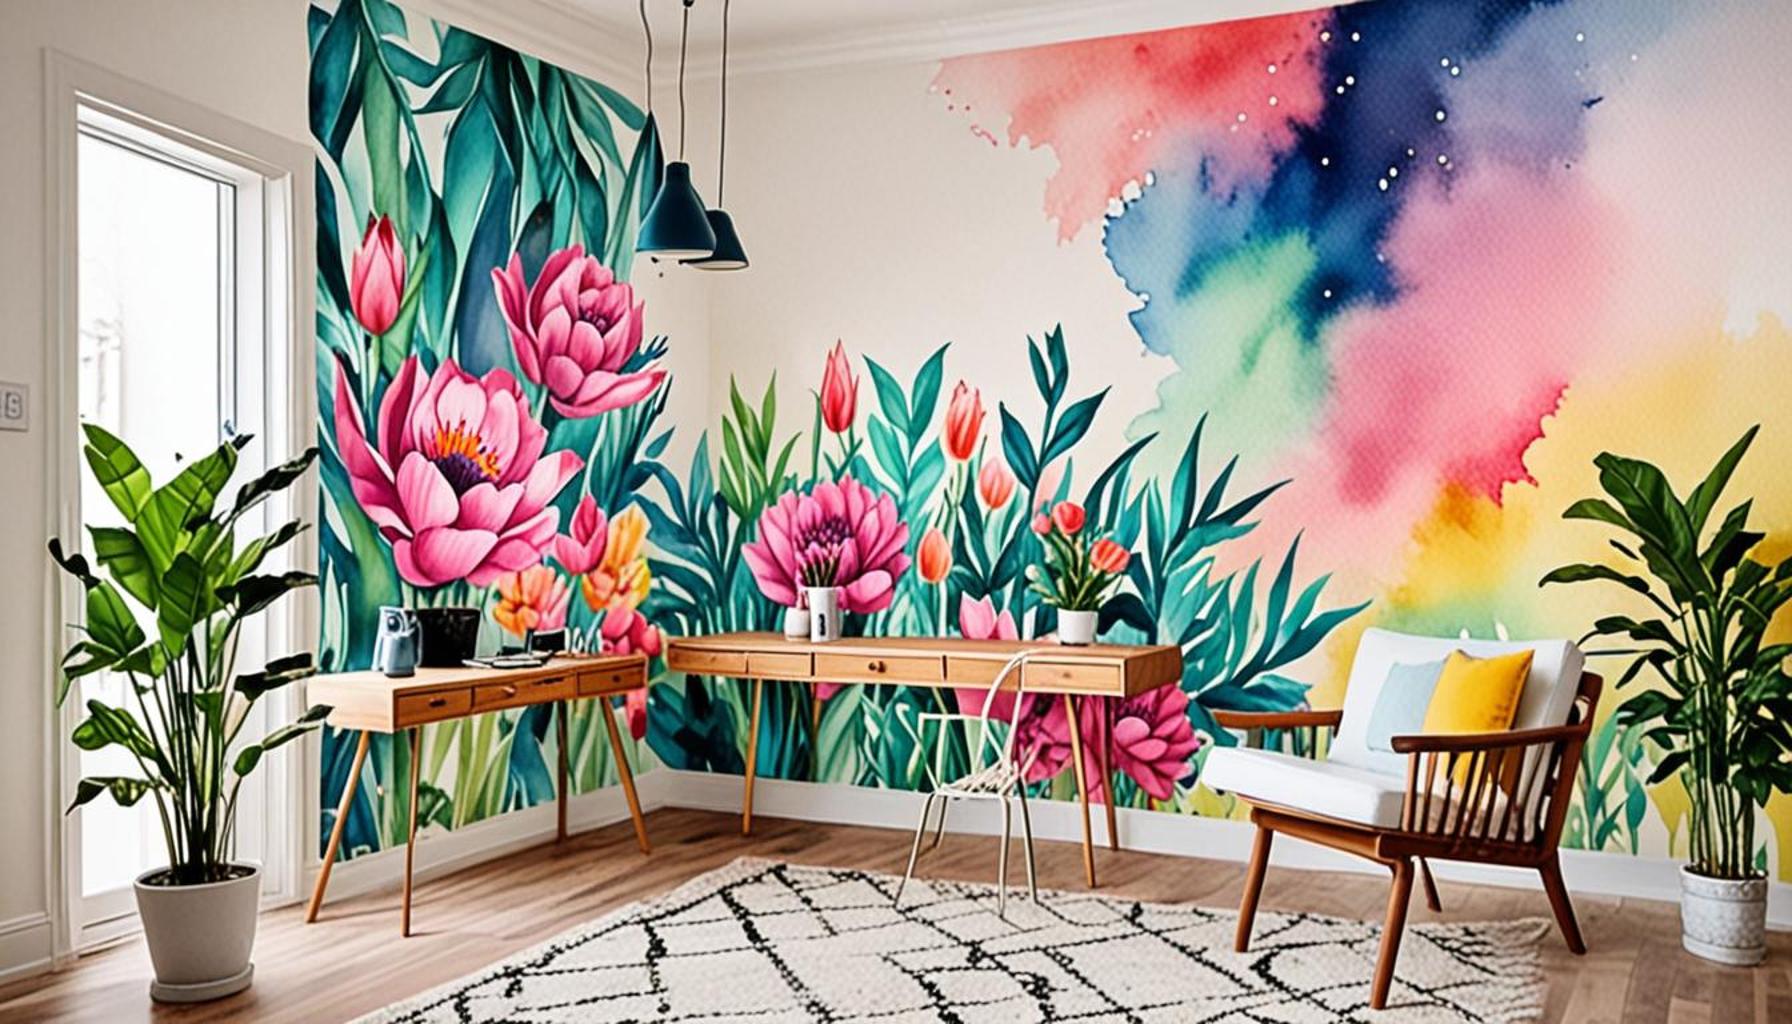
- Nature scenes: Bring the outdoors inside with vibrant flora and fauna. Imagine a large mural of a tranquil forest scene or a lively garden, creating a calming retreat within your home.
- Inspirational quotes: Add a personal touch with motivational words that uplift you daily. Try crafting a mural that features your favorite saying, surrounded by artistic elements that visually enhance the message.
Getting Started with Your Own Mural
Whether you are a seasoned artist or an enthusiastic novice, DIY wall murals offer a wonderful opportunity to engage with your space and express your creativity. Before you dive into your project, consider the following techniques, tools, and tips to ensure a successful transformation:
- Planning: Begin by sketching your ideas on paper. This allows you to visualize the layout and make adjustments before applying paint to the wall.
- Tools: Gather essential supplies like paint, brushes, rollers, painter’s tape, and drop cloths. High-quality paint will ensure durability and vibrant colors.
- Technique: Use a methodical approach to your mural, starting with larger sections before moving to finer details. Take your time and don’t rush the process—great art requires patience!
In conclusion, by embracing DIY wall murals, you can create personalized art that resonates with your style and enhances your living environment. So gather your supplies, ignite your creativity, and transform your walls into a stunning canvas that illustrates your one-of-a-kind personality.
![]()
DISCOVER MORE: Click here to enhance your creative journey
Unlocking Your Creativity: The Artistic Process
Embarking on a DIY wall mural project is not just about painting on a wall; it is a journey of creativity that allows you to explore your artistic abilities while enhancing your living space. It’s essential to recognize that the artistic process can be both enjoyable and liberating. To help you navigate this creative adventure, we will delve into the steps necessary to make your mural a reality, along with tips to inspire original concepts.
Step-by-Step Guide to Creating Your Mural
Before you start splashing paint on your walls, consider the following structured approach to ensure that the creative process flows smoothly:
- Choose Your Wall Wisely: Select a wall that naturally draws the eye. This could be a feature wall in your living room, a blank wall in a hallway, or even a child’s bedroom. Ensure the wall is in good condition, clean, and primed for painting for the best results.
- Inspiration and Design: Inspiration can strike from various sources—nature, travel, art, or even photographs. Websites like Pinterest and Instagram can provide countless ideas to explore. Create a mood board with color palettes, imagery, and styles that resonate with your vision.
- Color Selection: Choosing the right colors is critical. Consider the overall color scheme of the room and how the new mural will complement your existing decor. Use color swatches to visualize how the shades will look in different lighting conditions.
- Draw a Mock-up: Before you pick up the brush, sketch your design directly onto the wall using a pencil or create a paper mock-up to scale. This step will help you visualize proportions and placements, ensuring that your final mural is pleasing to the eye.
Techniques for Success
Once you’re ready to put your design into action, incorporating various techniques can enhance the quality of your mural:
- Brush Technique: Use different brush sizes to achieve varied textures and details. A larger brush is great for broad strokes, while a fine brush can be used for intricate designs.
- Layering: Build depth by layering colors. Start with lighter shades and gradually apply darker tones. This technique can create an illusion of dimension, making your mural more dynamic.
- Stenciling: If free-hand painting feels intimidating, consider using stencils. They are available in various designs and can add uniformity and precision to your project, ensuring that even those who aren’t skilled in drawing can achieve impressive results.
In summary, DIY wall murals not only allow for personal expression but also serve as an enjoyable family project. By taking the time to plan thoughtfully and implement fundamental techniques, you can create a masterpiece that reflects your style, enhances your space, and potentially becomes a cherished conversation starter among friends and family. So, gather your brushes and paints, unleash your creative spirit, and prepare to transform your walls into captivating works of art.
| Advantages | Details |
|---|---|
| Personalization | DIY wall murals allow individuals to express their unique style and creativity, transforming blank walls into personalized canvases. |
| Cost-Effective | Creating your own wall murals significantly reduces costs compared to hiring professional artists, making art accessible for everyone. |
| Therapeutic Value | The process of creating art can be meditative and calming, offering a productive outlet for reducing stress. |
| Community Engagement | Involving friends or family in the mural creation process fosters collaboration and strengthens community bonds. |
DIY wall murals not only beautify spaces but also engage the creator in a deeply personal and enriching experience. The appeal of integrating homemade art into spaces resonates with people who seek to nurture their creativity while making a bold statement. By utilizing readily available materials, anyone can embark on a creative journey, from planning design concepts to executing the final strokes. The art of creating these murals can encapsulate memories, values, or aspirations that distinguish one’s living environment. Whether opting for simple patterns or intricate designs, each brushstroke and color choice contributes to a transformative experience, infusing life and character into any room. The options are limitless, with artistic expressions ranging from abstract art to thematic landscapes that align closely with individual tastes. The practice also encourages the exploration of various techniques, such as stenciling, sponging, or even spray painting, enhancing skills that can lead to captivating results. With every DIY wall mural, the home becomes a reflection of the maker’s identity, elevating the atmosphere and inspiring all who enter.
DISCOVER MORE: Click here to dive deeper
Choosing the Right Materials for a Lasting Impression
Creating a stunning DIY wall mural requires not only creativity but also the selection of appropriate materials. The right tools and supplies can make a significant difference in the ease and outcome of your project. Here’s a deeper look into the essential materials you should consider as you embark on your mural-making journey:
Essential Supplies
Start by gathering high-quality materials that match your chosen design:
- Paint: For murals, acrylic paints are a popular choice due to their durability, vibrant colors, and fast-drying properties. They are also water-resistant once dry, making them suitable for various environments, from children’s rooms to kitchens.
- Paint Brushes and Rollers: Invest in different sizes of paintbrushes and rollers. Larger brushes can cover extensive areas quickly, while detail brushes are perfect for intricate designs. A roller can be used for the background shade, ensuring a smooth and even layer.
- Pencil and Chalk: A pencil can help outline designs, and chalk provides the flexibility to erase and modify your sketches without damaging the wall surface.
- Drop Cloths and Tape: Protect your flooring and adjacent walls by laying down drop cloths. Additionally, painter’s tape can create clean lines and help you avoid any accidental color bleeding.
Securing Your Vision: Projecting Images
For those who want to replicate a complex image or design but lack drawing skills, consider using a projector. This technology can project an image onto the wall, allowing you to trace its outline accurately. Many smartphones today have apps that can help you modify images for better projection results. This method has become increasingly popular among DIY muralists, as it adds precision and minimizes guesswork.
Finishing Touches: Seal and Protect Your Work
Once you’ve completed your mural, don’t forget to protect your creation. Applying a clear sealant or varnish can help preserve the color and finish of your mural for years to come. This step is crucial, particularly for murals in areas subject to moisture or wear, such as entryways or children’s playrooms.
DIY Murals for Every Skill Level
Embracing your creative side doesn’t mean you have to be a professional artist. There are countless styles and techniques suited for everyone, from beginners to advanced painters. Here are a few ideas based on skill level:
- Beginner-Friendly Options: Consider simple geometric patterns or color-blocked designs. These can be achieved easily and can make a striking impact.
- Intermediate Projects: Explore nature-inspired murals featuring flowers, trees, or animals. These can become vibrant focal points and allow for some exploration in blending colors.
- Advanced Techniques: If you’ve developed confidence in your abilities, try creating a mural based on a personal story or theme by incorporating multiple elements, textures, and even mixed media.
Utilizing these materials and techniques can elevate your DIY wall mural from a basic painting project to a stunning artistic statement in your home. With careful planning and a splash of boldness, transforming your space is more accessible than ever. So whether it’s a serene landscape in your bedroom or a cheerful design in your child’s play area, the possibilities are endless when it comes to creating homemade art that reflects your style.
DISCOVER MORE: Click here to learn about innovative sustainable art projects
Bringing Your Walls to Life
In conclusion, DIY wall murals serve as an exciting method to infuse creativity and personality into any space. By harnessing the techniques and materials outlined throughout this article, you can embark on a rewarding artistic adventure that reflects your unique style and transforms your living environment. Whether you are a novice painter experimenting with color-blocking or an advanced artist tackling intricate designs, the beauty of homemade art lies in its ability to narrate your story and enhance the mood of a room.
As you delve into the mural-making process, remember that the journey itself can be as fulfilling as the end result. Embrace your creativity and don’t shy away from making mistakes; they often lead to unexpected and delightful outcomes. Importantly, take the time to choose high-quality materials and ensure the longevity of your artwork with protective finishes. This attention to detail will result in a visually stunning mural that brings joy for years to come.
Moreover, DIY wall murals can impart a sense of accomplishment and transformation, making them a fantastic endeavor for families, friends, or solo projects. So grab those paints and brushes, select your favorite inspirational design, and prepare to immerse yourself in a world of color and imagination. Start wondering how your walls could tell your story through vibrant imagery and unique artistry, and let your creativity soar!
Related posts:
Transforming Recyclable Materials into Art: Sustainable DIY Projects
The Art of Upcycling: How to Give New Life to Old Objects with DIY Projects
DIY Educational Toys: How to Make Fun and Instructional Items for Children
DIY Interior Decoration Projects: Create Unique Spaces with Personal Touches
DIY Furniture with Pallets: Creating Functional and Stylish Items for Your Home
DIY Aromatic Candles: How to Make Custom Candles to Create Cozy Environments

Linda Carter is a writer and creative hobbies expert specializing in crafting, DIY projects, and artistic exploration. With extensive experience helping individuals discover their creative potential and bring their ideas to life, Linda shares her knowledge on our platform. Her goal is to empower readers with practical tips, inspiring ideas, and step-by-step strategies for success in the world of creative hobbies.